Refrigerator Water Leak After a Filter Change? A Safe Check Before You Replace Parts
A refrigerator that drips, leaks onto the floor or leaves water under the crisper drawers may have a loose filter, trapped air, damaged tubing or a clogged drain. Use this model-aware checklist to identify the safe homeowner checks and the point where service is needed.
A refrigerator that starts dripping after a filter change can look like a major appliance failure. Often, the cause is much smaller: the cartridge is not fully seated, a seal is damaged, or air trapped in the water circuit is being pushed through the dispenser. A puddle on the floor can also come from a supply connection, an ice-maker fill tube, a blocked defrost drain or a cracked internal reservoir.
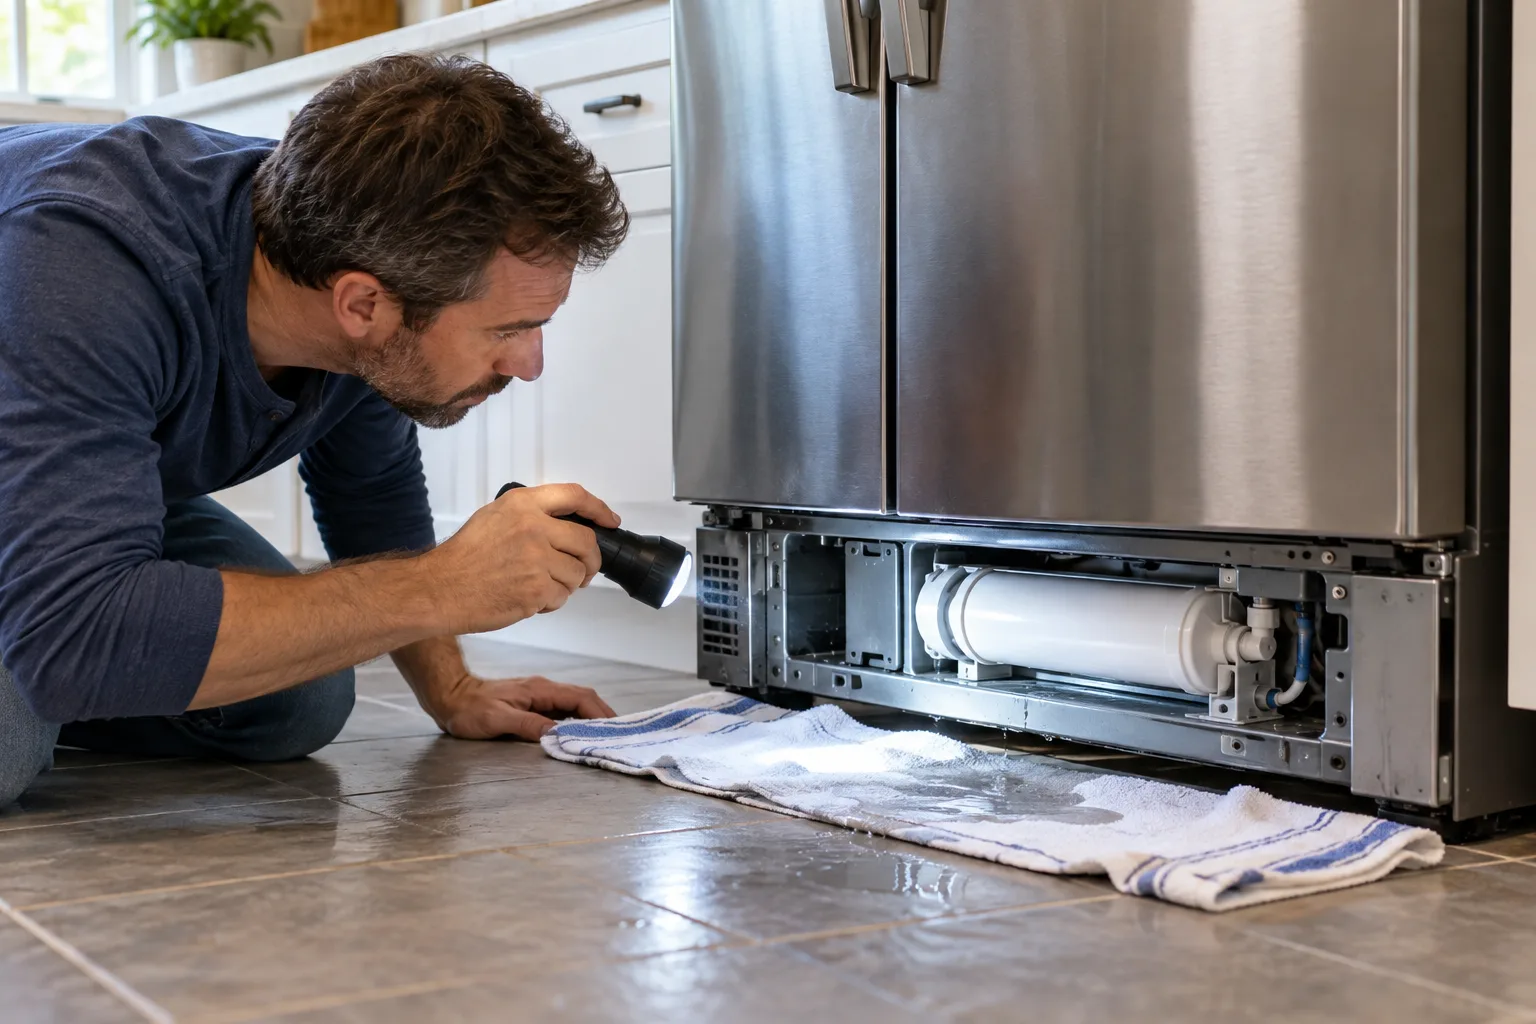
The useful first question is not “Which part should I buy?” It is “Where did the water begin?” A filter-area drip, a dispenser drip, water under the vegetable drawers and water behind the refrigerator point to different checks. This guide covers the accessible, low-risk work a homeowner can do without opening sealed refrigeration components or disturbing electrical protections.
Recent appliance-reliability reporting has put more attention on whether a repair is worthwhile before buying a replacement. Consumer Reports says its updated reliability work draws on survey data covering more than 269,000 products across major kitchen categories, but a reliability ranking cannot diagnose an individual leak. The model number, leak location and timing of the symptom matter more than a brand label. Consumer Reports’ 2026 appliance-reliability guide is useful context, while the manufacturer’s manual remains the authority for your particular refrigerator.
Before you touch anything: stop the water safely
If water is actively running, spreading toward an outlet or entering a cabinet, stop the supply first. Put towels or a shallow pan under the leak, then close the refrigerator’s water shut-off valve if you can reach it safely. The valve may be under the sink, in a basement, in a nearby cabinet or behind the refrigerator. Turn off the ice maker using the control specified in the owner’s manual.
Do not pull a heavy refrigerator quickly or by its doors. If the valve is behind the appliance, have another adult help move it straight out while protecting the floor. Do not unplug a refrigerator with wet hands or stand in pooled water. If water has reached an outlet, power strip or damaged wiring, stop and arrange for an electrician or appliance technician to assess it rather than trying to dry and restart the appliance yourself.
A water leak does not normally require disconnecting the refrigerator’s electrical supply. If the manual tells you to unplug the appliance for a particular inspection, follow that model-specific procedure. Never remove panels, defeat a door switch, bypass a fuse or work inside the sealed refrigeration system as part of this checklist.
Tools and materials
For the accessible checks, gather:
- paper towels or clean rags;
- a shallow container or baking sheet;
- a flashlight;
- the refrigerator’s model number and owner’s manual;
- a clean cloth and mild dish soap for wiping a seal or filter seat;
- a replacement filter only if the existing filter is damaged, expired or not approved for the model.
Avoid pipe sealant, glue, tape wrapped around a leaking push-fit connection and generic replacement parts selected only because they look similar. A temporary wrap can hide a slow leak while water damages flooring or cabinets. Use the connection type and part number specified by the manufacturer.
Step 1: Map the leak before cleaning it up
Dry the visible water, then place fresh pieces of paper towel in several locations: beneath the filter housing, below the front dispenser, under the crisper drawers, at the front corners and behind the refrigerator near the water connection. Wait a few minutes without dispensing water or calling for ice. The first towel to become wet helps identify the source.
Next, test one function at a time. Dispense a small glass of water while watching the filter area and the bottom front of the refrigerator. Then stop and wait. If your refrigerator has an ice maker, do not force a harvest cycle or use a test button. Let it operate normally only if the water supply is secure and there is no active leak.
A few drops left in the dispenser nozzle immediately after use can be normal. A repeated drip when nobody has used the dispenser, water appearing inside the fresh-food compartment or a growing puddle underneath is not something to dismiss as condensation.
Step 2: Check the filter installation
If the leak began immediately after replacing the filter, start there. Follow the removal and installation directions for your exact model. Remove the cartridge and inspect it under a good light. Look for a cracked plastic body, a displaced or missing O-ring, damage around the inlet ports or mineral buildup on the sealing surface.
Wipe the filter seat with a clean, damp cloth. Do not scrape it with a knife or screwdriver. Reinstall the filter straight, aligning the tabs, arrows or guide marks. It should lock or seat according to the manual. Hand-tighten only as directed; excessive force can distort the filter housing or seal.
Whirlpool identifies several common causes of a leaking filter, including a worn or missing O-ring, a cartridge that is cross-threaded or not fully seated, a cracked filter head and a clogged or kinked line. It also warns that incompatible filters may not seal correctly. Whirlpool’s filter-leak guidance explains these checks in more detail.
If the filter is cracked or the seal is missing, replace it with the model-approved cartridge. If the filter housing itself is cracked, do not keep tightening the cartridge to stop the leak. Leave the water supply closed and arrange service.
Step 3: Flush air from the water system after a new filter
A new cartridge can introduce air into the line. Air may cause sputtering, a weak stream or a few drips at the dispenser, especially immediately after installation. The correct flushing amount varies by model. Some manufacturers specify a number of minutes; others specify a volume such as one or two gallons.
Use the owner’s manual for the exact procedure. In general, hold a large container under the dispenser, operate it in short intervals if the manual says to do so, and continue until the stream is steady. Keep the container stable and watch the filter housing while water is flowing. Stop immediately if water appears around the cartridge or if the leak becomes stronger.
GE says trapped air after filter installation can cause sputtering and recommends dispensing water until the sputtering stops. Its guidance for some models calls for purging several minutes or a specified volume. GE Appliances’ dispenser guidance is model-oriented, so do not transfer its exact volume automatically to a different brand.
If the drip persists after the system has been properly flushed, the problem is probably not just trapped air. Recheck the filter seating and move to the next location-based check.
Step 4: Inspect the dispenser and ice chute
A dispenser drip can originate at the nozzle, the internal water tube or the ice chute rather than at the filter. Clean visible residue from the dispenser area with a soft cloth. If the refrigerator has an ice chute, look for ice fragments or frost preventing the chute flap from closing. Do not insert a sharp tool into the chute and do not use a hair dryer near water or plastic parts.
Samsung notes that air in the water line, ice buildup and a poor seal around the ice chute can all contribute to dripping. Warm air entering through a gap can melt ice inside the chute, leaving water that appears to come from the dispenser. Samsung’s dispenser troubleshooting guide also cautions that water lines and couplers deserve inspection if the problem began after the doors were removed or the refrigerator was moved.
Hold a glass under the dispenser for a few seconds after releasing the lever, as some models leave a small amount of water in the nozzle. That explains a brief residual drop, not a steady leak during periods of non-use.
Step 5: Check the accessible supply line behind the refrigerator
Close the water shut-off valve before examining the rear connection. Use a flashlight to inspect the supply line from the household valve to the refrigerator. Look for a kink, split, abrasion mark, loose compression fitting or a tube that has pulled partly out of a push-fit connector. Do not bend copper or plastic tubing sharply to make it fit.
After the supply is off, dry the fittings completely. If the connection is visibly loose and the manual permits homeowner adjustment, tighten it gently with the correct hand tool while supporting the stationary fitting. Do not overtighten plastic fittings. Reopen the valve slowly and watch the connection for several minutes.
Whirlpool recommends checking accessible connections at the supply valve and at the refrigerator, along with the filter and tubing. Its bottom-leak checklist also notes that damaged filter seals and water lines are common sources.
If the household supply line is copper and appears split, corroded or leaking from the wall or valve, call a plumber. Do not treat a pipe leak as an appliance repair. If the line must be replaced, use the material and connection method required by the refrigerator manufacturer and local plumbing rules.
Step 6: Look for an ice-maker fill-tube problem
Water under the refrigerator or in the freezer can come from the ice-maker fill tube. With the water supply closed, inspect only the visible portion for a split, loose connection or ice blockage. Do not pry ice from a tube with a screwdriver and do not heat the tube with an open flame or high-temperature tool.
A recurring ice blockage can indicate low water pressure, a failing inlet valve, an improperly positioned fill tube or a temperature problem. Those causes may require internal testing. A tube that is cracked or inaccessible behind a panel is a service job, particularly if reaching it would require removing electrical covers.
GE’s water-on-floor guidance lists the refrigerator valve, household water line and plastic fill line to the ice maker as possible sources. It recommends shutting off the water and turning off the ice maker before further work. Read the GE checklist here.
Do not force the ice maker to cycle, jumper its contacts or bypass an inlet-valve control. Those actions can energize components unexpectedly and can cause an overfill or electrical damage.
Step 7: Check for water inside the refrigerator
Water beneath the crisper drawers often points to a blocked defrost drain or, on some models, a frozen or cracked chilled-water reservoir. First remove food and drawers as directed in the manual and look for a visible pool or ice buildup. Keep food cold while you work; do not leave the door open for an extended period.
A defrost drain is part of the refrigerator’s normal water-management system. When it is blocked, defrost water can collect inside and eventually run onto the floor. You may be able to clear a visible, accessible drain using the manufacturer’s approved method, but do not push a rigid wire deep into the drain or pour boiling water into a plastic channel. The drain may route through hidden areas or contain temperature-sensitive components.
GE warns that a frozen or cracked reservoir can leak onto the fresh-food floor and says service may be required. Its dispenser troubleshooting page also notes that overly cold settings or low food load can contribute to a frozen reservoir on some models. Do not change temperature controls repeatedly while food is at risk; make one model-appropriate adjustment and allow the stated time for temperatures to stabilize.
If the water returns after a visible blockage is cleared, or if the reservoir is cracked, arrange appliance service. Repeated thawing without finding the cause can damage food and flooring.
Step 8: Check level and door sealing only if the manual points there
An out-of-level refrigerator can affect door closing, ice-chute sealing and the way water collects in a drain pan. It can also make a door appear closed while a gasket has a gap. Place a level where the owner’s manual recommends and inspect the gasket for folds, tears or food debris.
Do not adjust leveling feet while the refrigerator is unstable or unsupported. Do not tilt the appliance enough to risk it tipping. If the refrigerator rocks, the floor is badly uneven or the door cannot be aligned without lifting the appliance, stop and obtain help.
A warm-air gap around an ice chute can melt ice and imitate a water-line leak. Cleaning the gasket and ensuring the door closes correctly is a reasonable homeowner check. Replacing a door, hinge, internal valve or dispenser tube is not a universal DIY procedure; the model manual and the warranty terms decide what is appropriate.
A quick interpretation guide
Use the symptom pattern to choose the next check:
- Leak began right after a filter change: inspect seating, O-ring, cartridge compatibility and trapped air.
- Drip appears only after dispensing: flush the system, check the nozzle and inspect the ice-chute seal.
- Water appears at the rear connection: close the valve and inspect the supply tubing and fittings.
- Water is under the crisper drawers: check for a visible drain blockage or frozen reservoir, then call for service if the source is hidden.
- Water appears in the freezer or around the ice maker: inspect only visible tubing and stop if the fill system is inaccessible.
- Water is near an electrical outlet or damaged wiring: stop using the area and arrange professional help.
- The leak returns after every check: do not keep replacing filters or tightening fittings; the housing, valve, reservoir or internal tubing may need diagnosis.
When DIY is not appropriate
Call an appliance technician or plumber when the leak source is inside a sealed or inaccessible compartment, the filter head or housing is cracked, the refrigerator valve is stuck open, the internal reservoir is split, the supply line in the wall is leaking, or the repair requires electrical testing.
Also stop and call for help if the refrigerator is under warranty and opening a panel could affect coverage, if the appliance is built in or too heavy to move safely, if the floor or cabinet has already been soaked, or if mold, damaged flooring or ceiling leakage is involved. A landlord or property manager may need to handle the repair in a rental. Local plumbing and electrical rules may require a licensed professional even for work that looks simple.
Do not bypass thermal protection, grounding, fuses, door switches or water-supply safety controls. Do not operate the refrigerator with a known active leak just to see whether it gets worse. If a recalled product is involved, follow the recall remedy rather than attempting an improvised repair. The CPSC refrigerator recall page is a useful place to check in the United States, but confirm the exact model and remedy with the manufacturer.
The sensible repair decision
A filter that was installed crooked, air left in the line or a loose accessible fitting can be a modest homeowner fix. A cracked filter housing, internal valve, hidden drain, damaged reservoir or recurring fill-tube fault is a different category. The visible puddle may be small while the underlying repair is not.
Write down the model number, the location of the first wet towel, when the leak began, whether a filter was recently changed and whether the water supply has been shut off. Take a few photos before moving the appliance. That information will help a technician identify the correct part and may prevent an unnecessary replacement.
The best outcome is not always a successful DIY repair. It is a dry floor, a refrigerator that is safe to use and a clear answer about whether the next step belongs to the homeowner, a plumber, an appliance technician, a landlord or the manufacturer.
Related articles

When the cloud controls the air conditioner: the LG ThinQ smart-home lesson
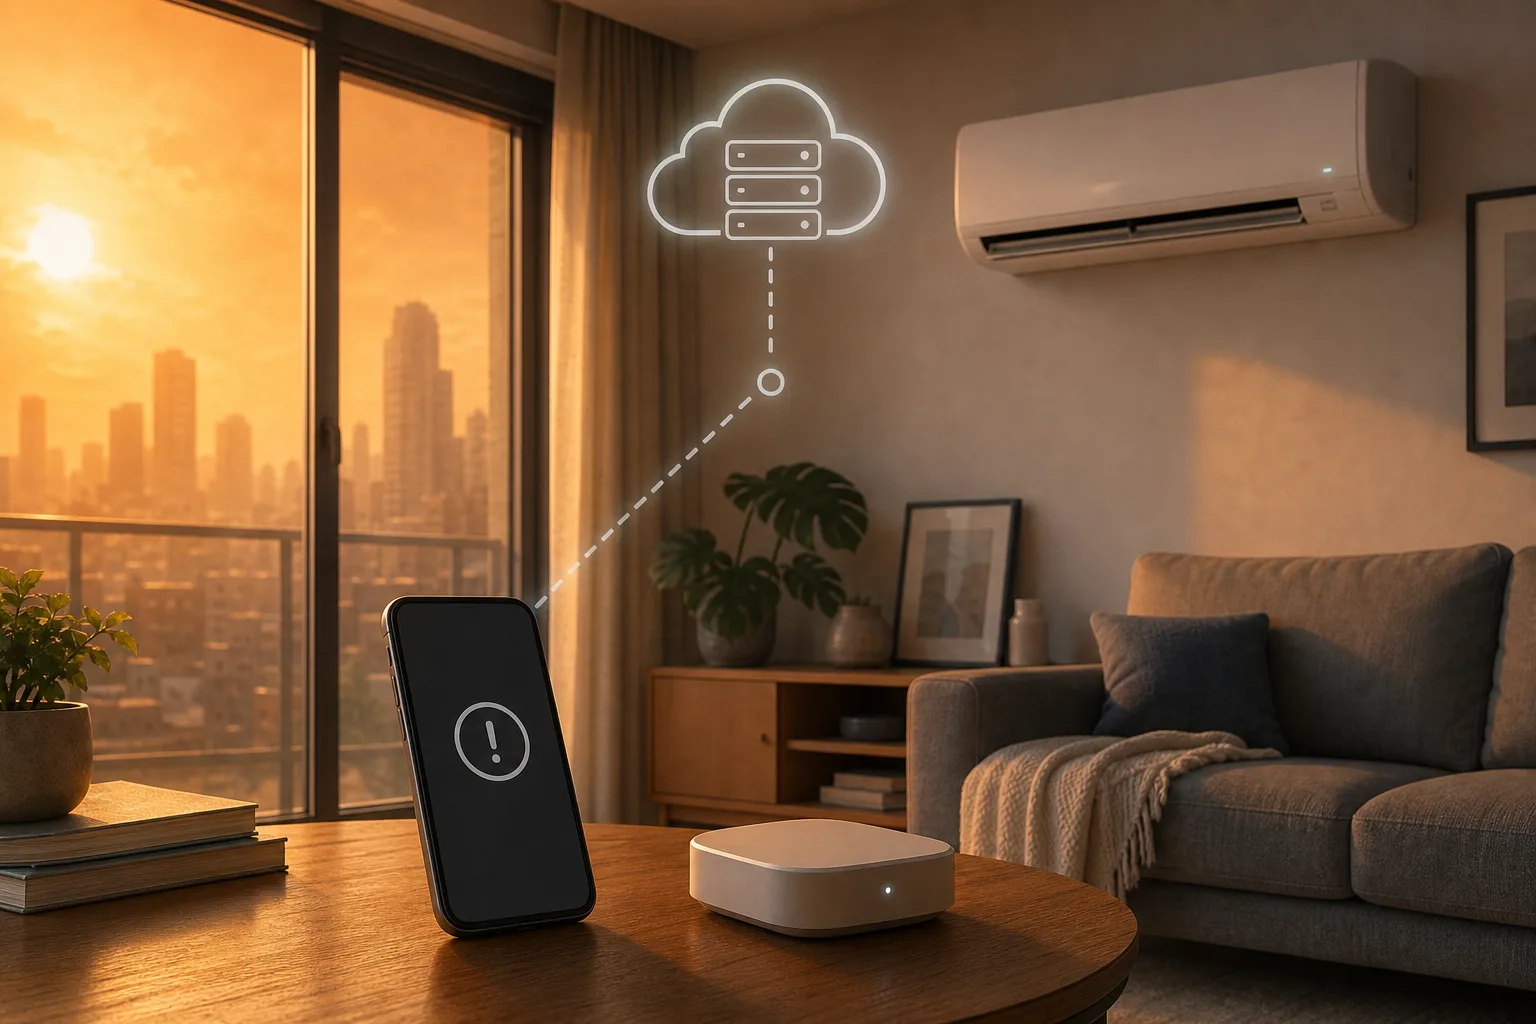
A fresh LG ThinQ disruption shows why smart appliances should stay controllable when the vendor cloud slows down, blocks automation, or disappears.
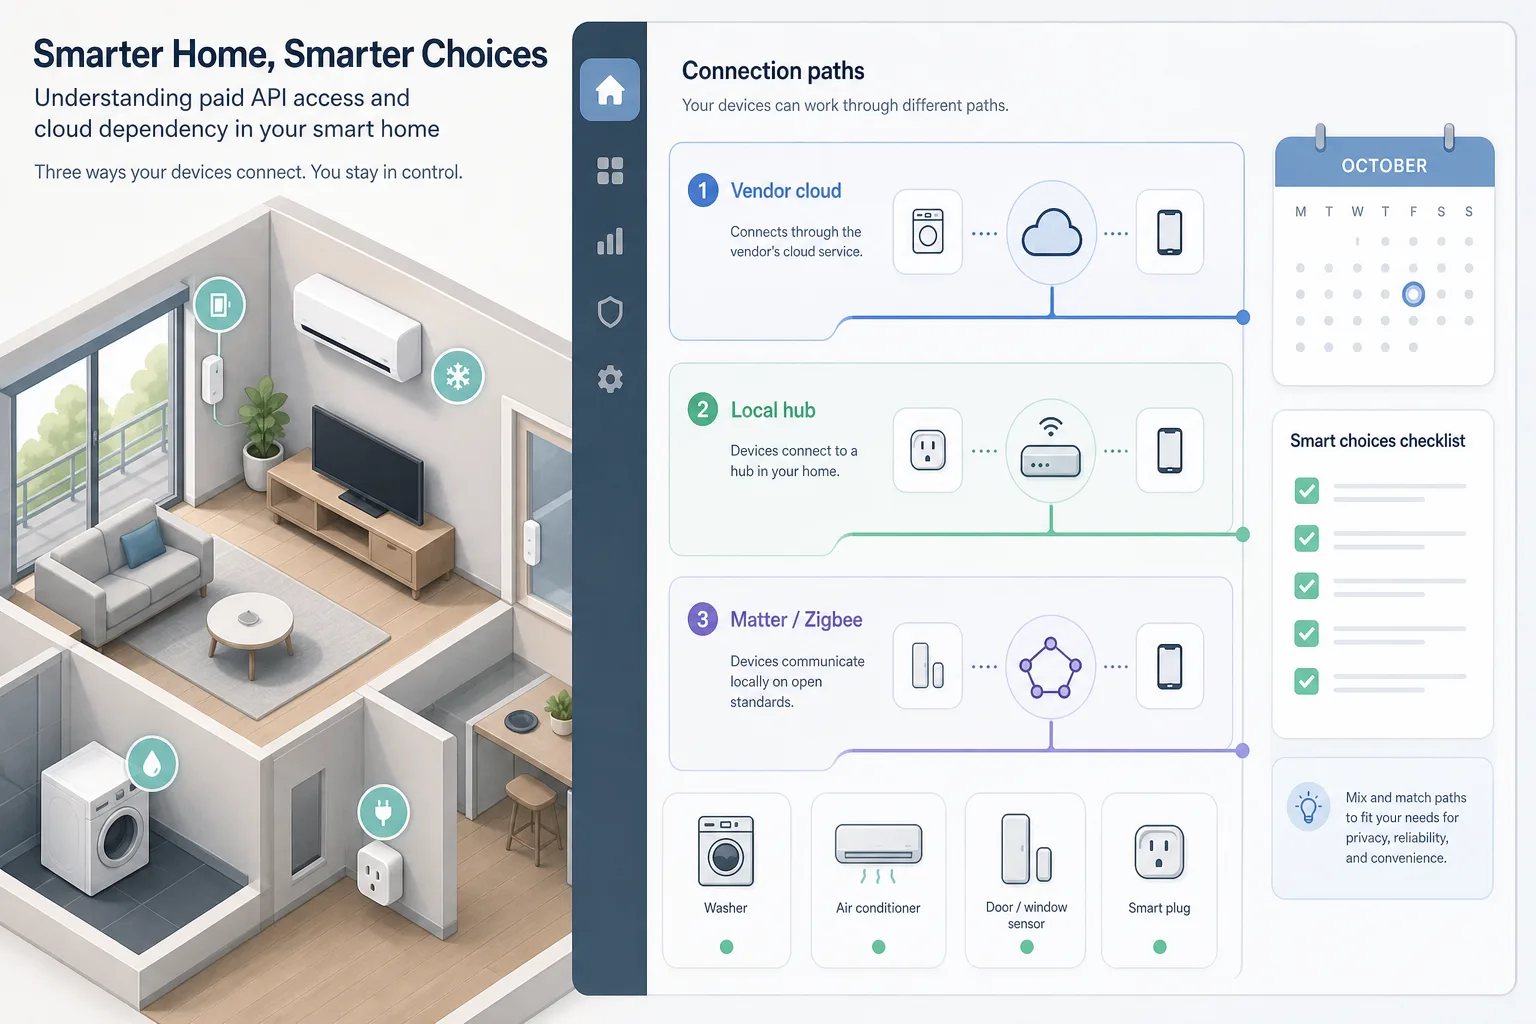
SmartThings API is becoming paid. Check your smart home before October
Samsung says ordinary SmartThings app users are not affected, but Home Assistant and custom automation users should audit cloud-dependent devices now.

Kayem’s 1.58 Million-Pound Meat Recall: A Calm Fridge Check and Safe Cleanup Guide
A nationwide Kayem recall covers ready-to-eat hot dogs, sausages, bacon, deli meats and poultry products that may have been stored too warm. Here is how to identify affected packages, discard them safely and clean the refrigerator.


The New Darwin’s Cat-Food Advisory Is a Freezer and Household-Safety Problem, Not Just a Brand Question
The FDA says two frozen lots of Darwin’s Natural Selections Chicken Recipe for Cats tested positive for Salmonella. Here is how to check the lot codes, dispose of the food, clean the household and plan a safe replacement without turning a warning into panic.
Comments
Sign in to comment.
No comments yet.