A Late-September Reset for a Raised Bed That Produced Almost Nothing
A poor raised-bed harvest does not automatically mean you need more compost. Use this late-season checklist to separate compaction, drainage, excess organic matter, timing, and crop-choice problems before spending money on a rebuild.

A raised bed that stalled, puddled, crusted over, or grew a disappointing crop is giving you useful information before next spring. The tempting response is to empty it, add more compost, and turn everything over. That can make the problem harder to diagnose.
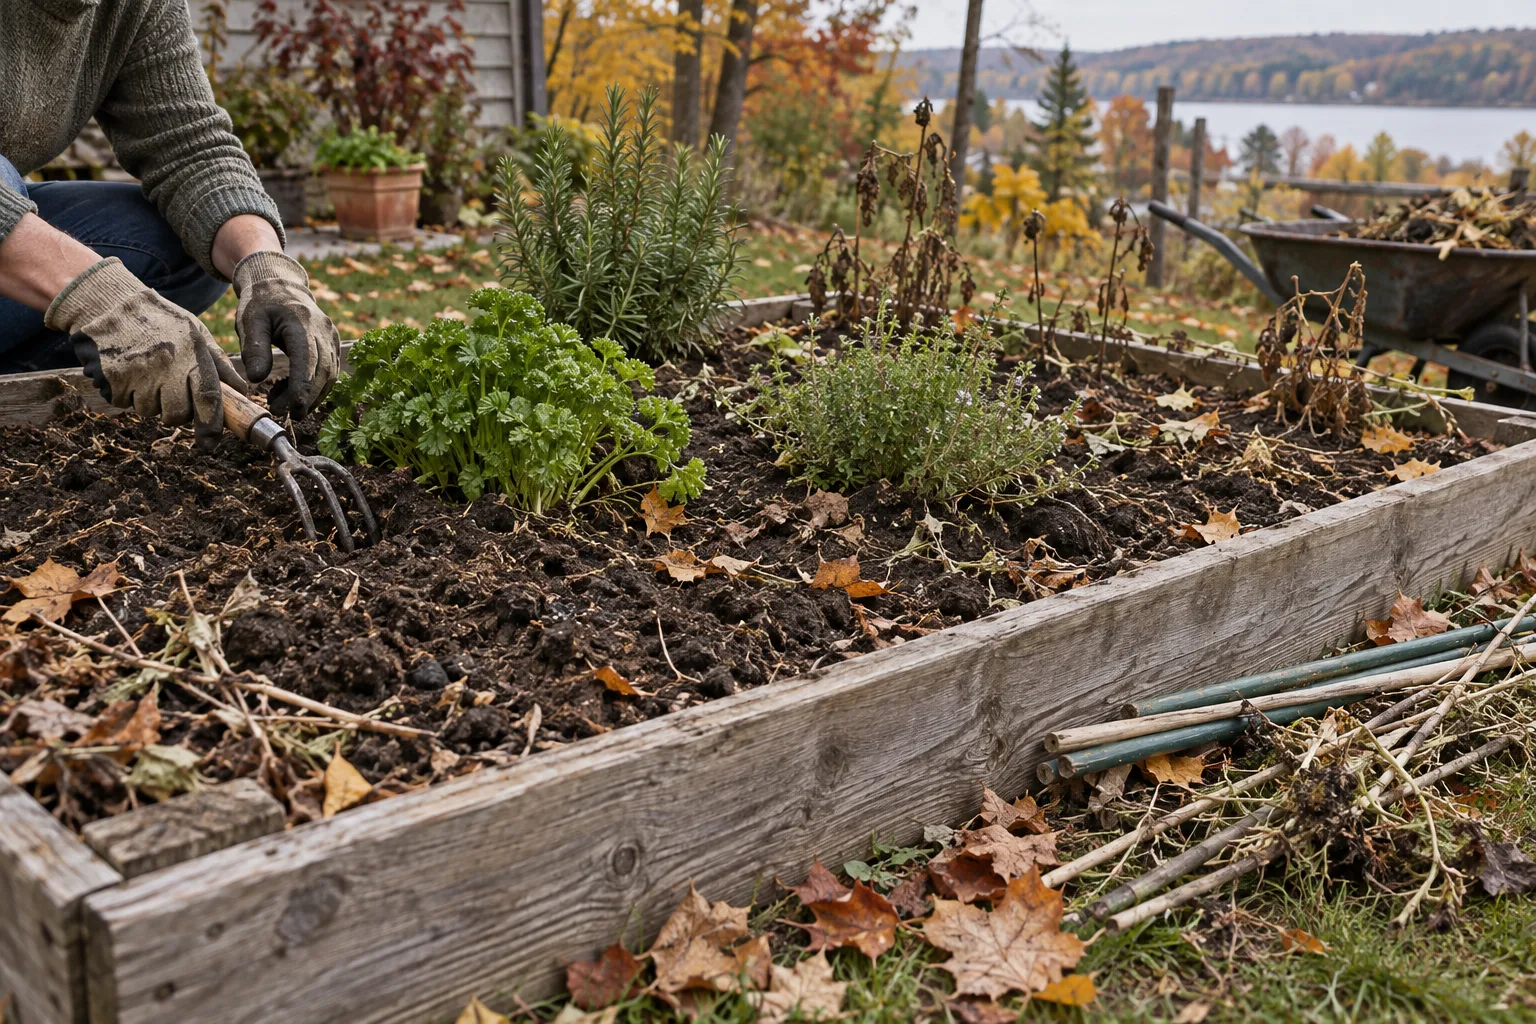
The better late-season job is a short investigation followed by a measured reset. Check whether the bed is compacted, waterlogged, too rich in organic material, poorly drained, contaminated by a problem plant, or simply planted outside its climate window. Then correct only the condition you can identify. A bed that was filled with roughly equal parts compost and topsoil is not automatically ruined, but it deserves a closer look: extension guidance commonly recommends a soil-dominant mix, with compost as a smaller fraction, because excessive compost can hold water unpredictably, dry and repel water when it becomes very dry, and contribute excess nutrients.
This plan is for vegetable and herb beds in the Northern Hemisphere during late September and early autumn. Your first frost date, rainfall pattern, soil type, and crop choices determine the exact timing. In warm-winter regions, the same work may be followed by a fall planting rather than a winter cover. In colder regions, the priority may be protecting the bed and avoiding a late sowing that cannot establish.
Start with the crop history, not the shovel
Write down what grew, where it grew, and when it stopped. A quick record often separates a soil problem from a seed, light, temperature, pest, or timing problem.
If every crop in one bed was weak, short, pale, or slow, inspect the growing medium first. If only radishes failed but lettuce and herbs were healthy, the cause may be temperature, sowing depth, crowding, or inconsistent moisture rather than the whole bed. If seedlings emerged and then stalled, check crusting, compaction, irrigation, and light. If plants grew large but produced little, excessive nitrogen, low light, heat, pollination, or variety choice may be involved.
Raised beds do not remove the need to match crops to the season. Cool-season seedlings can still fail in a hot late summer, and a September planting can be too late in a region where hard frost is close. Conversely, gardeners in mild climates may still have time for greens, roots, or brassicas. Do not use a calendar from a different region as proof that your bed is defective.
Make a simple map before removing anything:
- Mark plants that were productive.
- Mark areas that stayed wet for a day or more after watering or rain.
- Mark areas that crusted, cracked, or became difficult to penetrate.
- Note whether the bed receives at least six hours of direct sun; many vegetables need that much, though exact needs vary.
- Record any fertilizer, manure, compost, or soil conditioner added during the season.
- Record whether the bed was walked on, leaned into, or used as a work surface.
This record costs nothing and prevents the common mistake of treating a light problem or a poor crop choice with another truckload of amendments.
Remove risks before improving the soil
Pull out dead annual vegetables and remove fallen fruit that is rotting or heavily diseased. Do not automatically put visibly diseased foliage into a small home compost pile. A backyard pile may not maintain the temperature and mixing conditions needed to reliably destroy every pathogen or weed seed. If a plant showed a serious disease, follow local extension or municipal guidance for disposal.
Healthy, pest-free plant residues can be chopped and left as a surface mulch, added to a managed compost pile, or removed according to your local practice. Pull tomato stakes, trellises, clips, and labels. Brush soil off tools and wash them before storing. Cleaning the bed’s hardware now also makes it easier to see whether the problem was in the soil or in a support, irrigation line, or shading object.
Do not strip the entire garden for the sake of neatness. Perennial roots, beneficial insects, and overwintering wildlife can use some plant cover. In a vegetable bed, though, leaving a dense mat of exhausted or diseased annual plants in contact with wet soil can preserve problems for the next crop. The practical distinction is between healthy residue that protects soil and suspect residue that may carry a disease or pest forward.
Test the soil before adding anything
A soil test is more useful than a guess based on color. Ask a local extension service, public soil laboratory, or reputable laboratory what sample depth and number of cores it requires. Use a clean trowel or soil probe, take several small samples from the bed rather than one scoop from a single corner, remove obvious roots and stones, mix the subsamples in a clean bucket, and submit the amount requested by the laboratory.
Keep samples from different beds separate if they have different histories. Do not mix a compost pile sample into the garden soil sample unless the laboratory specifically asks for it. Follow the lab’s instructions for drying, labeling, and shipping.
At minimum, a useful garden report may include pH, phosphorus, potassium, and sometimes organic matter, soluble salts, and other nutrients. The exact panel varies by region. Soil testing is especially important if you have repeatedly applied manure or compost, because phosphorus and salts can accumulate even when plants look hungry. Adding a general fertilizer before seeing the report can turn an unknown problem into an overfertilized bed.
A test will not diagnose every failure. It will not tell you that seed was old, a bed was shaded by a new tree, a drip emitter clogged, or a slug ate the seedlings overnight. It does, however, tell you whether a nutrient correction is justified and gives you a baseline for next year.
Diagnose compaction with your hands
Wait until the soil is workable. Working wet soil, especially clay or silt, can smear pores into a dense layer that later dries hard. A simple test is to squeeze a handful. Soil at workable moisture should break apart or crumble when released. Soil that remains a sticky, plastic lump is too wet to dig.
Once the bed is neither muddy nor dust-dry, push a trowel or hand fork into several locations. Compare the surface with the layer below. A thin crust may respond to a shallow loosening and mulch. A dense layer farther down can indicate that the bed was filled with a poor mix, repeatedly saturated, or compressed by foot traffic. Look for roots that stop abruptly at one depth, standing water, or a sour smell; these are clues, not standalone diagnoses.
If the bed is only mildly compacted, use a garden fork or broadfork to open the soil without turning every layer upside down. Insert the tool, rock it gently, and lift just enough to create channels. Work from the paths, not by kneeling or standing in the bed. Avoid pulverizing the soil into a fine powder. Soil aggregates create pores for air and water, and excessive disturbance can destroy that structure.
If compaction is severe, remove the cause before adding material. Widen paths, add stepping boards for access, repair a leaking hose or irrigation line, and keep wheelbarrows out of the bed. If the bed sits on a compacted subsoil or a hard surface, loosening the top layer alone may not solve drainage. A deep raised bed also behaves more like a large container, so the lower layer needs a route for excess water to leave.
Do not add sand to a clay-heavy bed as a reflex. Fine sand mixed with clay can produce a dense, concrete-like texture. Use a soil test and local extension recommendations to choose amendments. Organic matter, correct drainage, and no foot traffic are usually more useful starting points than a mysterious “soil loosener.”
Correct an over-composed mix carefully
A mixture that contains about half compost may be acceptable in some special situations, including certain clean-soil remediation plans, but it is not a universal recipe for a productive vegetable bed. For ordinary raised-bed establishment, extension recommendations commonly put the larger share in quality topsoil or garden soil and the smaller share in plant-based compost. Penn State guidance gives a 70 percent soil and 30 percent compost example; University of Minnesota guidance describes roughly one-half to two-thirds topsoil and one-half to one-third plant-based compost.
Those ranges are not a command to rebuild every bed. They are a warning against adding more organic material without knowing what is already present. Compost quality also matters. Immature compost can tie up nitrogen while it decomposes, carry weed seeds if poorly processed, or contain unwanted salts or residues. Composted manure should come from a trustworthy source, and fresh manure should not be used directly around food crops.
If the soil test and physical inspection point to too much compost, the least disruptive correction is usually to blend in a tested, suitable topsoil or mineral soil over time, not to dump in a random bagged product. Add a modest layer, mix only as deeply as needed, and reassess drainage and texture. In an established bed, adding a large volume all at once can bury crowns, alter the planting depth, and change nutrient concentrations unpredictably.
Do not try to “balance” excess compost by adding fertilizer. Compost is not just a texture amendment; it can contribute nitrogen, phosphorus, potassium, salts, and alkalinity depending on its ingredients and maturity. Let the lab report determine whether a nutrient is actually missing.
For a small bed, the cheapest correction may be no purchase at all this autumn: stop adding amendments, keep the surface covered, grow a suitable cover crop or use clean mulch, and test again before spring planting. Buying more material is sensible when the bed is visibly short of soil, badly settled, or built from an unsuitable medium, but it is not a substitute for diagnosis.
Choose a winter cover or a surface mulch
Bare soil is exposed to rain impact, erosion, temperature swings, and weed germination. A fall cover is useful when the bed is empty and there is enough time for plants to establish before severe cold. Extension guidance describes cover crops as a way to protect soil, suppress weeds, conserve moisture, add organic matter, and reduce compaction. Legumes such as crimson clover, Austrian field pea, and common vetch can fix atmospheric nitrogen, while grains such as winter oats or cereal rye provide fibrous roots and cover. The best choice depends on your region and what you plan to grow next.
Sow by the timing on the local seed packet or extension calendar, working backward from the first hard frost. A cover crop needs time to germinate and establish roots; a late sowing into cold soil may produce little protection. Broadcast seed onto a prepared surface, rake it lightly to make contact, and water as needed until autumn rains begin. Do not leave newly sown seed to dry repeatedly.
The tradeoff is spring management. A vigorous cover crop can become difficult to remove, and some cereal grains or clovers are more persistent than a beginner expects. Cut or mow before the crop sets seed. If you incorporate the residue, allow time for it to decompose before planting vegetables; local guidance commonly recommends at least a few weeks, because fresh plant material can interfere with seedling establishment while it breaks down.
If you are new to cover crops, a thick layer of clean shredded leaves or another suitable organic mulch is simpler. Mulch protects the surface and reduces winter weed pressure, though it does not provide the same living-root benefits. Keep mulch away from the stems of overwintering plants, and avoid leaves that are contaminated with herbicide residues or that are known locally to cause problems. Shredding helps leaves stay in place and break down more evenly.
A third option is to grow a fall crop that you will harvest: lettuce, spinach, radishes, certain brassicas, or other regionally appropriate vegetables. That option is only practical when your frost window, day length, and seedling age allow it. Do not force a late crop into a bed that needs rest simply to avoid seeing bare soil.
A practical reset sequence
Use this order for a bed that performed poorly:
- Harvest what is still worth keeping. Remove dead, diseased, or clearly unproductive annual plants.
- Clean and store stakes, trellises, irrigation parts, and tools. Repair leaks and blocked emitters.
- Map wet spots, crusted areas, shade, and places where roots stopped.
- Take the soil sample before adding compost, manure, fertilizer, lime, or sulfur.
- Wait for workable moisture, then test several spots with a trowel or fork.
- Loosen only compacted areas. Do not rototill a small raised bed into powder.
- Correct access and drainage problems so the bed will not be compacted again.
- Use the soil report to decide whether any nutrient or pH amendment is needed.
- If the mix is too organic or has settled, add a measured amount of suitable soil rather than more compost.
- Cover the bed with a locally appropriate cover crop, mulch, or a properly timed fall crop.
- Record what you changed, including the amount and product, so next spring’s result has a clear comparison.
This sequence is deliberately slower than an end-of-season makeover. The goal is to preserve evidence while the season’s clues are still visible.
Region and climate caveats
In a cool continental climate, late September may be the last practical window for a winter cover crop, and a hard frost may end tender crops quickly. In a maritime climate, heavy autumn rain may make drainage and access the main concern. In the southern United States and other mild-winter areas, September can be the start of a productive cool-season planting window rather than the end of the garden. In arid regions, new seed needs reliable irrigation until established, and mulch can reduce evaporation but cannot compensate for a failed water supply.
If the bed is on a balcony, roof, patio, or concrete slab, check its weight capacity and drainage path before adding soil or water. If it is next to an old painted structure, a road, or a site with unknown fill, test for potential contaminants and use clean, tested soil. Raised beds are not automatically safe simply because they have a frame.
The same symptoms can have different causes in different climates. A bed that stays wet after a week of rain may be normal in one season and a structural drainage failure in another. A weak September crop may reflect shortening days rather than poor fertility. Advice should follow the local planting calendar and the bed’s actual conditions.
Mistakes that waste money
The most expensive mistake is often repeating the original guess.
Adding another bag of compost because plants were small can increase nutrient imbalance or water problems. Adding fertilizer because leaves were pale can burn roots or worsen salt buildup if the real issue was damaged roots. Turning the whole bed when it is wet can create a hard layer. Planting a cover crop without checking its spring removal time can replace one maintenance problem with another. Buying a soil conditioner that promises to fix every texture is rarely more reliable than correcting the cause.
Another mistake is using potting soil to refill a large raised bed. Potting mixes are designed for containers and can dry too quickly or settle differently from mineral garden soil. A bed also needs a stable structure, enough depth for the crop, and drainage appropriate to its location.
Do not copy a recipe by volume without considering the materials. “Topsoil” can mean screened mineral soil, a sandy fill, or a product with unknown composition. “Compost” can be leaf compost, municipal compost, mushroom compost, or composted manure, each with different nutrient and salt profiles. Ask for a product analysis when available, and keep the receipt and label with your garden records.
What success should look like next spring
A repaired bed does not need to look perfect in October. Look for a surface that absorbs water instead of shedding it, a crumbly structure rather than a sticky mass, no standing water long after irrigation, and a clear plan for keeping feet and heavy tools out. The soil should support roots without being constantly remixed.
Plant a small, deliberate test rather than filling every inch. Choose one or two crops suited to your region and season, use the same watering method throughout the comparison, and record emergence, growth, and harvest. If only one crop fails while the others perform, the issue may be crop-specific. If the entire bed fails again, the record and soil report will give you much better evidence for the next correction.
A disappointing season is not a verdict on the raised bed. It is a set of observations: how water moved, how the mix behaved, what the plants could or could not access, and which tasks were realistic for the gardener. Preserve those observations now, make the smallest justified change, and let the bed enter winter covered and documented rather than buried under another untested fix.
Related articles
Empty Vegetable Beds in September Need a Cover Crop, Not Bare Soil
A practical September guide to choosing oats, rye, clover, radish or a simple mulch for empty vegetable beds, with timing, rates, watering and spring termination caveats.

After a Hot, Dry Summer: A Practical Recovery Plan for Heat-Stressed Garden Plants
The first rain after a brutal dry spell is not a signal to prune, fertilize, and replant everything. Use a staged recovery check to decide what needs water, what needs time, and what should be replaced.
The September Equinox Garden Audit: Test, Drain and Cover Tired Beds Before Winter
After a dry, demanding season, the most useful fall garden job may be an audit rather than a cleanup marathon. Check what the soil is telling you, correct drainage problems safely, and cover only the beds that can still support a useful autumn crop.
Fall Garlic Needs a Reserved Bed Before It Needs a Planting Day
Gardeners are buying seed garlic now, but the useful move is not always planting immediately. Match the bed, mulch and spacing to your first hard freeze so next summer’s bulbs are worth the space.
Comments
Sign in to comment.
No comments yet.