ISS SSTV Series 34: A Practical UHF Receive Plan for the Final October Passes
ARISS Series 34 is sending Robot 36 images about ARISS hardware from the ISS on 437.550 MHz. Here is a receive-first workflow for Doppler correction, pass timing, recording, decoding, and submitting usable images without relying on a perfect station.
ARISS Series 34 is giving amateur-radio operators a short, unusually practical satellite experiment: receive slow-scan television from the International Space Station while it passes overhead, then turn a weak, rapidly shifting UHF signal into a decoded image. The event is focused on ARISS hardware and uses Robot 36 SSTV on the 70-centimeter downlink rather than the more familiar 2-meter ISS frequencies.
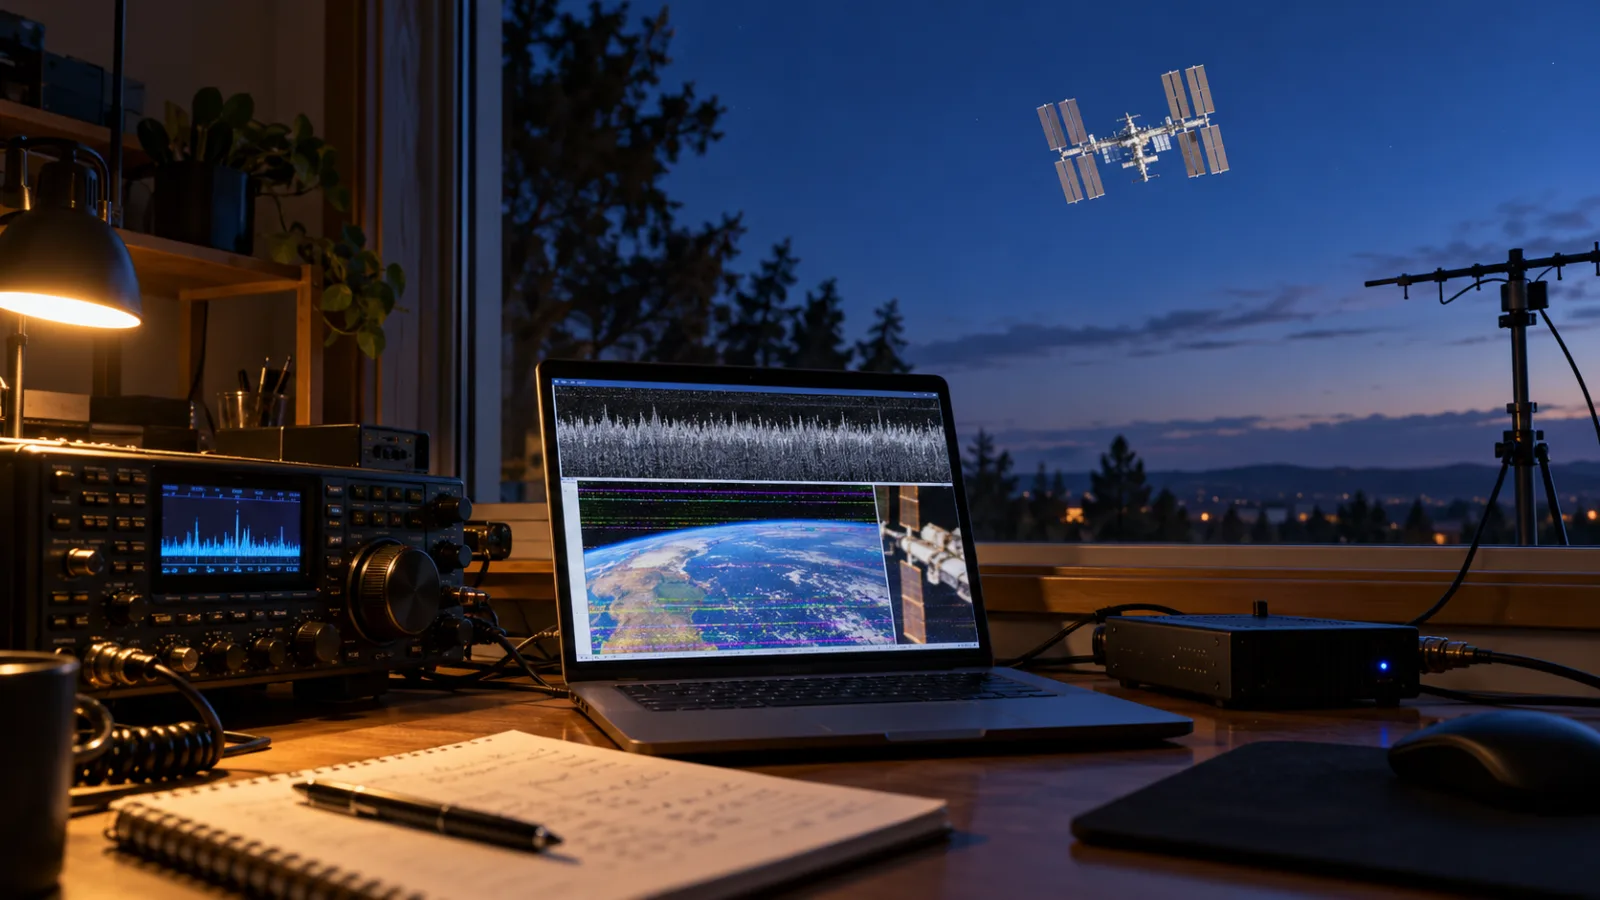
The published schedule has moved between notices. ARISS lists the event as beginning at 15:30 UTC on October 22 and ending at 18:00 UTC on October 25, while AMSAT-UK has described a window extending to October 26 at 17:45 UTC. That difference is a useful reminder that ISS radio activity depends on crew operations and can change. Before setting an alarm, check the current ARISS event page and the latest pass predictions for your location.
The important operating details are stable enough to plan around:
- Downlink: 437.550 MHz FM, with approximately plus or minus 10 kHz of Doppler shift during a pass.
- SSTV mode: Robot 36.
- Transmission pattern: about 36 seconds of image transmission followed by roughly two minutes of silence.
- Station: the amateur-radio equipment on the ISS, using the callsign RS0ISS in the published guidance.
- Activity: receive-only for ordinary listeners. Do not transmit unless you are licensed, authorized for the relevant band and mode, and following the applicable operating rules.
The central lesson is simple: a good recording is more valuable than a hurried, half-decoded picture. If the pass is noisy or your frequency correction is imperfect, preserving the audio gives you another chance after the ISS has disappeared below the horizon.
What makes this event different from ordinary ISS listening
Many introductory ISS guides center on 145.800 MHz FM voice or older SSTV operations on the 2-meter downlink. Series 34 is on 437.550 MHz. That changes the practical setup in three ways.
First, Doppler is much more noticeable at UHF. The ISS is moving at roughly 28,000 kilometers per hour in low Earth orbit, so the apparent frequency of the downlink changes quickly as the spacecraft approaches, passes closest to you and recedes. ARISS guidance puts the shift near plus or minus 10 kHz for this 437.550 MHz operation. A receiver left permanently at the nominal center frequency may still hear part of a strong pass, but it is a poor assumption for reliable image decoding.
Second, antenna placement matters more than many newcomers expect. A small handheld antenna can produce a memorable fragment under a favorable pass, but a quarter-wave or better UHF antenna, a handheld directional antenna, or a properly installed antenna with a clear view of the sky gives the decoder more usable signal. Buildings, trees, nearby electronics and a low-elevation path can all turn a recoverable signal into a sequence of broken lines.
Third, the useful window is short. The ISS may be above your local radio horizon for only several minutes, and the strongest passes are the ones worth prioritizing. You do not need to monitor every possible pass. One high-elevation pass with a tested recording chain is generally more useful than five poorly prepared attempts.
Plan the pass before touching the radio
Use a current satellite tracker, such as the AMSAT pass-prediction page, and enter your actual station location or Maidenhead grid. Do not copy another operator’s times: a pass that is excellent in one city can be below the horizon or only a few degrees high in another.
Choose passes using three filters:
- Prefer a high maximum elevation. A pass reaching 30 degrees or more is usually a better first attempt than a shallow pass. Very high passes also provide more time with a strong path, although local obstructions still matter.
- Prefer a time when you can operate without rushing. You need a few minutes before acquisition of signal to start recording, confirm the antenna, open the decoder and check the frequency plan.
- Prefer a pass that occurs in a quiet RF environment. A balcony beside a switching power supply, USB hub or noisy computer can be worse than a modest portable setup in a park or open yard.
Use fresh orbital elements where your tracking software supports them. Pass predictions depend on the two-line element data used by the tracker, and the ISS orbit changes enough that stale data can move the predicted rise and set times. The prediction is a planning aid, not a guarantee that the spacecraft will be audible at every calculated point.
Record the pass window in UTC as well as local time. UTC avoids daylight-saving and time-zone mistakes, and it makes later comparison with reports from other operators easier. Set the recorder to begin before acquisition of signal and stop after loss of signal rather than trimming tightly around the predicted pass.
A receive chain that can actually be debugged
There are several workable station designs. The most important choice is not the brand of radio; it is whether you can preserve clean audio and understand what each part of the chain is doing.
A conventional FM transceiver or scanner can feed a computer or phone running an SSTV decoder. An RTL-SDR can do the same with SDR software, provided the computer has enough processing headroom and the audio path is configured correctly. A WebSDR covering the ISS pass can be a useful fallback, although a remote receiver may not share your local pass geometry and should be treated as a separate experiment.
Before the pass, test the complete path with a local recording or a known Robot 36 sample. Confirm all of the following:
- The receiver is actually demodulating wide FM rather than a narrow filter that clips the SSTV audio.
- The decoder receives audio from the correct source, not the computer microphone or an unrelated virtual cable.
- The operating system is not applying noise suppression, automatic gain control or speech enhancement to the signal.
- The recorder can capture the same audio being sent to the decoder.
- The decoder is set to Robot 36 and is not waiting for another SSTV mode.
- You know where the resulting WAV or other audio file is being saved.
For a radio with a physical audio output, a simple isolated audio interface is often more predictable than holding a phone beside the speaker. Direct audio is not mandatory, but it reduces room noise and makes later decoding easier. If you use a phone microphone, keep the phone stable and disable features designed to improve speech. SSTV is not speech, and a speech-processing algorithm can erase the very tones the decoder needs.
Use a wide enough FM filter for the equipment and regional channel standard. The correct setting depends on the radio and local practice, but an overly narrow filter can distort the Robot 36 tones. Avoid adding aggressive audio filtering before you know that the raw recording is clean.
Doppler correction is the main technical challenge
A receiver tuned to 437.550 MHz is centered on the nominal downlink, not necessarily on the signal you hear at a given second. Near the beginning of a pass, the apparent signal can be above the nominal frequency; near the end, it can be below it. The exact curve depends on the geometry of the pass.
ARISS provides Doppler correction tables and notes that the change is approximately plus or minus 10 kHz. The organization also warns that 5 kHz tuning steps can produce distorted results during parts of the pass. A receiver capable of 1 kHz steps is much easier to manage manually. If your SDR supports CAT control or an automatic satellite-tracking integration, use that only after checking the direction of correction and the radio’s frequency calibration.
For manual tuning, make a frequency schedule before the pass. The table is not a substitute for listening: the signal may arrive late, the pass prediction may be slightly off and multipath can make the best setting appear to jump. The schedule simply keeps you from trying to invent a correction plan while an image is already transmitting.
A practical manual method is to start slightly high, step downward as the ISS approaches the highest point of the pass, then continue downward as it leaves. The sign and exact values should come from the ARISS tables or your tracking software, not from a generic satellite recipe. The goal is to keep the audio tones centered in the receiver’s passband while preserving the entire Robot 36 transmission.
If you have a five-kilohertz-step handheld, do not assume the attempt is hopeless. A strong, high-elevation pass may still yield a recognizable image, especially if the radio’s FM filter is suitable and the antenna has a clear view. But expect more distortion and plan to record everything. A handheld with a rubber-duck antenna is a useful learning tool, not a reliable standard for judging the event.
Antenna and location choices
A directional UHF antenna is the most direct improvement for a portable station. A small crossed or handheld Yagi can provide gain and let you follow the spacecraft, but it requires the operator to manage pointing, polarization and frequency. A fixed vertical can work when the pass is strong and high, but its pattern is not optimized for every elevation or azimuth.
If you use a directional antenna, do not point it only at the predicted azimuth and leave it there. The ISS moves rapidly across the sky. Keep the antenna pointed ahead of the spacecraft’s apparent path and adjust it during the pass. Circular or changing polarization, reflections from buildings and the spacecraft’s changing orientation mean that a perfect-looking pointing angle is not always the strongest one.
Keep the feed line short where practical, use sound connectors and avoid placing the antenna immediately beside a laptop, power bank or USB cable bundle. At 437 MHz, a small installation fault can cost more signal than a software change can recover.
A low-noise preamplifier may help when it is installed close to the antenna and the feed line is lossy, but it cannot repair a badly overloaded receiver or local interference. Test the system with and without it. If strong nearby signals overload the front end, additional gain can make the result worse.
Do not climb, handle a mast in bad weather or improvise an unsafe rooftop installation for a short event. A safely placed modest antenna is preferable to a risky temporary setup. If the station is outdoors, protect the operator, the radio and the power system from weather, trip hazards and exposed conductors.
Decode the signal without judging it too early
Robot 36 takes about 36 seconds to transmit one image. The following silence can last around two minutes, so a pass may contain only a few useful image starts depending on geometry and schedule. A decoder may show a partial picture, a slanted image, color streaks or a gray field before the transmission finishes. Let it run.
Start recording before the first audible signal and keep recording across the silent interval. Do not stop merely because the first image is incomplete. The next transmission may be stronger, and a later pass can sometimes be decoded from the same audio if the software locked onto the wrong start point.
Use the decoder’s raw or minimally processed mode when available. Save the decoded image with the pass date, approximate UTC time, location and receiving setup. A filename such as 2026-10-25_0430Z_ISS_S34_Robot36.wav is more useful than image-final-final2.wav when you are comparing results later.
If the decoder locks but the image is badly skewed, check frequency tracking first. If the whole image is noisy, check the antenna and RF environment. If the image has clean tones but no picture, check the audio routing and mode selection. If the decoder produces a picture with repeated vertical or horizontal breaks, the signal may have dropped out, the receiver may have been overloaded, or the antenna polarization may have changed relative to the station.
A partial image is still evidence. It can show that the downlink was present, that the audio chain worked and that the chosen frequency was close enough for the decoder to recognize the mode. Resist the temptation to “fix” a broken picture with aggressive sharpening or color manipulation before preserving the original decode and audio.
A compact operating checklist
Ten minutes before the pass:
- Confirm the latest ARISS schedule and any operational notices.
- Refresh orbital elements and calculate the local pass.
- Select the pass with the best practical elevation and a clear view.
- Connect the antenna, radio, recorder and decoder.
- Set Robot 36 and confirm the audio source.
- Start a test recording and verify that the file contains receiver audio.
- Load the ARISS Doppler table or enable a tested tracking integration.
At acquisition of signal:
- Start or confirm the recording.
- Listen for the SSTV tones rather than waiting for a picture immediately.
- Follow the planned frequency correction in small steps.
- Adjust the antenna smoothly; avoid rapid, random movements.
- Leave the decoder running through the transmission and silence.
After the pass:
- Save the raw audio before experimenting with filters.
- Record the actual frequency behavior, signal strength and antenna used.
- Export the best decoded image without overwriting the original.
- Compare the result with the pass prediction and note the maximum elevation.
- Try the next suitable pass with only one change at a time.
This one-change rule matters. If you replace the antenna, change the software, move location and alter the tuning plan at once, you will not know what improved the result. Treat each pass as a small measurement.
What to do when the pass produces nothing
No audio does not automatically mean the ISS was not transmitting. First check whether the spacecraft actually rose above your horizon. A tracker may show a pass that is blocked by terrain or buildings at the relevant azimuth. Next check the time standard: UTC and local time errors are common during event weekends.
Then check the receive frequency. For this event, the nominal frequency is 437.550 MHz, not 145.800 MHz. The latter appears in many older ISS guides and is associated with different operations. Also confirm that your software has not silently changed the center frequency after an update or profile load.
Local interference is another frequent cause. Disconnect noisy USB devices, move the antenna, try battery power if safe and compare the receiver’s noise floor before and during the pass. If the noise rises only when the computer or charging system is connected, the antenna may be hearing the station’s electronics more loudly than the satellite.
A weak pass can also fail because the antenna is vertically polarized while the spacecraft signal arrives with a changing polarization. Rotate a handheld antenna slowly during the pass. With a directional antenna, sweep a small arc rather than making large movements. Keep a recording even when the first listen sounds empty; a decoder may reveal a short burst later.
Finally, verify the event window. ARISS schedules can change because the crew, spacecraft traffic or station operations take priority. The schedule discrepancy reported by ARISS and AMSAT-UK for the end of Series 34 is exactly why the official event page should be checked before concluding that the activity has ended.
Submitting an image and keeping the record useful
ARISS provides an SSTV gallery for received images and states that successful submissions can qualify for an event certificate. Submit the image through the current official gallery workflow, and keep your original audio and station notes locally. The gallery is a record of the received image; your audio is the record that explains how it was recovered.
Use the event name, date and approximate UTC time in your notes. Include the receiver type, antenna, whether Doppler was corrected manually or automatically, the maximum pass elevation and any unusual interference. These details are more valuable to other operators than a claim that the image was simply “strong.”
Do not upload someone else’s image as your own, and do not describe an image as received live if it came from a WebSDR or a later decode of shared audio. A clear distinction between direct reception, remote reception and post-pass decoding keeps the gallery and community reports trustworthy.
The practical takeaway
Series 34 is accessible to modest stations, but it rewards preparation more than optimism. The nominal frequency is only the starting point; UHF Doppler, pass geometry, antenna orientation and audio handling determine whether Robot 36 becomes a picture.
The best first attempt is a high pass, a clear view, a receiver that can tune in small steps, a wide enough FM path and a recorder that runs before acquisition of signal. If the image is incomplete, preserve the audio and change one variable on the next pass. That workflow turns a fleeting ISS transmission into a repeatable station test—and it remains useful for future satellite SSTV events long after the October schedule has closed.
Related articles
Callsign Ghosts, Tiny LoRa Decoders, and the Pirate Who Claims to Be Legal
Daily off-frequency notes: someone is borrowing a Japanese callsign on FT8, a new no-GNU-Radio LoRa receiver drops, and a shortwave pirate politely introduces itself as federally compliant.
Browser Satellites, QRP Quirks, and Jungle Pirates
A lively look at OrbitNight for satellite tracking, Meteor weather pics, Xiegu X6200 gripes, Meshtastic vs ham, Japanese license-free ops, and 90s pirate radio nostalgia.


Unitree AS2-W and the case for wheel-legged robots
Unitree’s new AS2-W is not just another robot dog clip. It shows why robotics companies are mixing wheels and legs, and why buyers should ask harder questions about autonomy, safety and developer access.

Google Translate’s Gemini Upgrade Is a Context Tool, Not a Replacement for Human Review
Google’s latest Translate work points to a practical shift: better AI translation depends less on word substitution and more on context, audience, tone, and review. Here is how teams can use the upgrade without turning fluent errors into published ones.

Comments
Sign in to comment.
No comments yet.