GPS Tracker Setup via Manufacturer Software
Learn how to configure a GPS tracker with manufacturer PC software, connect it by cable, set the APN, reporting interval, power modes, server, and port, and understand why Wi-Fi setup is uncommon.
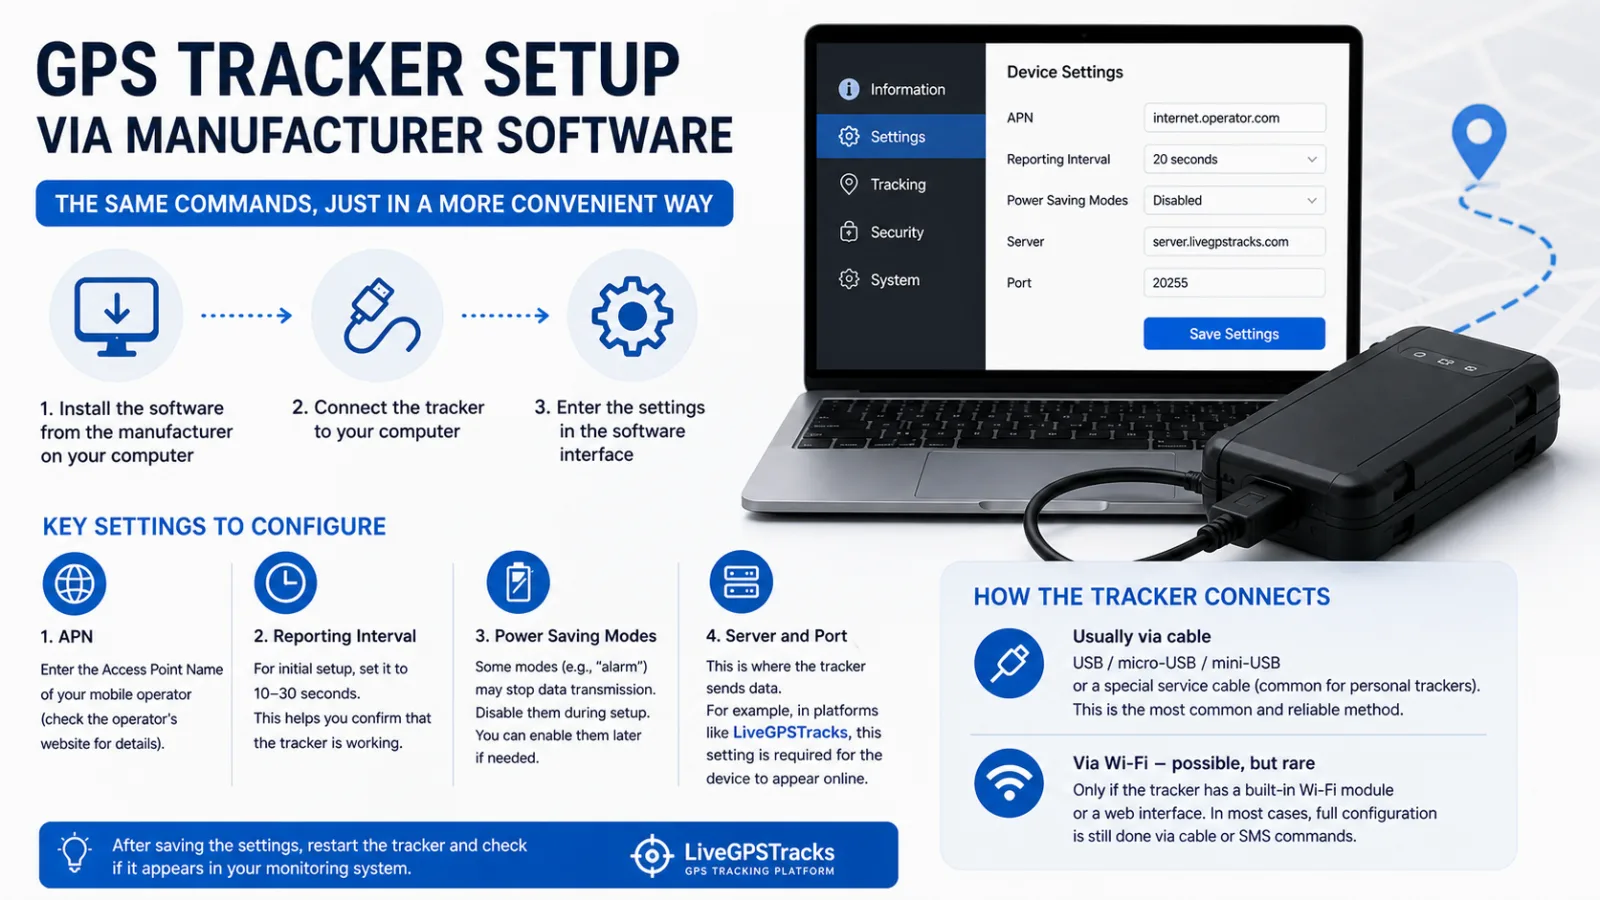
⚠️ This setup method is not available for all GPS trackers. It only works if the manufacturer provides dedicated PC software and supports configuration through a computer connection.
When this option is available, it can be more convenient than SMS setup, especially when you need to configure many parameters.
How the Setup Process Works
- Install the manufacturer’s software on your computer.
- Connect the tracker to the PC.
- Configure the settings through the software interface.
💡 In practice, this is the same configuration performed with SMS commands, presented in a more user-friendly interface.
How Trackers Are Connected
In most cases, trackers connect to a computer by cable:
- USB, micro-USB, or mini-USB;
- a dedicated service cable, which is common for personal trackers.
A cable is the primary connection method because it:
- provides a stable connection;
- allows full configuration and, in some cases, firmware updates;
- does not depend on mobile network coverage or the status of the SIM card.
Can Trackers Be Connected via Wi-Fi?
Sometimes—but this is the exception rather than the rule.
Wi-Fi configuration may be available if:
- the tracker has a built-in Wi-Fi module;
- the device creates its own Wi-Fi network or provides a local web interface;
- configuration is handled through the manufacturer’s cloud service.
In real-world use, however:
- Wi-Fi is usually not used for full configuration;
- it is more common for auxiliary functions, such as positioning or data assistance;
- complete setup is still typically performed by cable or with SMS commands.
Key Settings in the Software
1. APN (Internet Access Point)
Enter the APN of the mobile operator whose SIM card is installed in the tracker.
2. Data Reporting Interval
For the initial setup, set the reporting interval to 10–30 seconds. This makes it easier to confirm that the device is actively sending data.
Once everything is working correctly, increase the interval according to your needs.
3. Power-Saving and Alarm Modes
Some trackers may stop transmitting data under certain conditions, such as inactivity or the absence of detected movement.
During the initial setup, it is better to disable power-saving and alarm modes. You can enable them again after confirming that the tracker works correctly.
4. Server Address and Port
These settings determine where the tracker sends its data.
For a monitoring platform such as LiveGPSTracks, the tracker must use the correct server address and the port assigned to its model or protocol. For LiveGPSTracks setup, the server address is orion.livegpstracks.com.
After Saving the Settings
Restart the tracker and check whether it appears online in your monitoring system. If it does not, verify the APN, server address, port, reporting interval, and whether all settings were saved successfully.
Conclusion
Configuration through manufacturer software is essentially the same process as SMS setup, but with a more convenient interface.
Remember that this method:
- is not supported by every device;
- usually requires a physical cable connection;
- rarely relies on Wi-Fi for complete setup.
Related articles
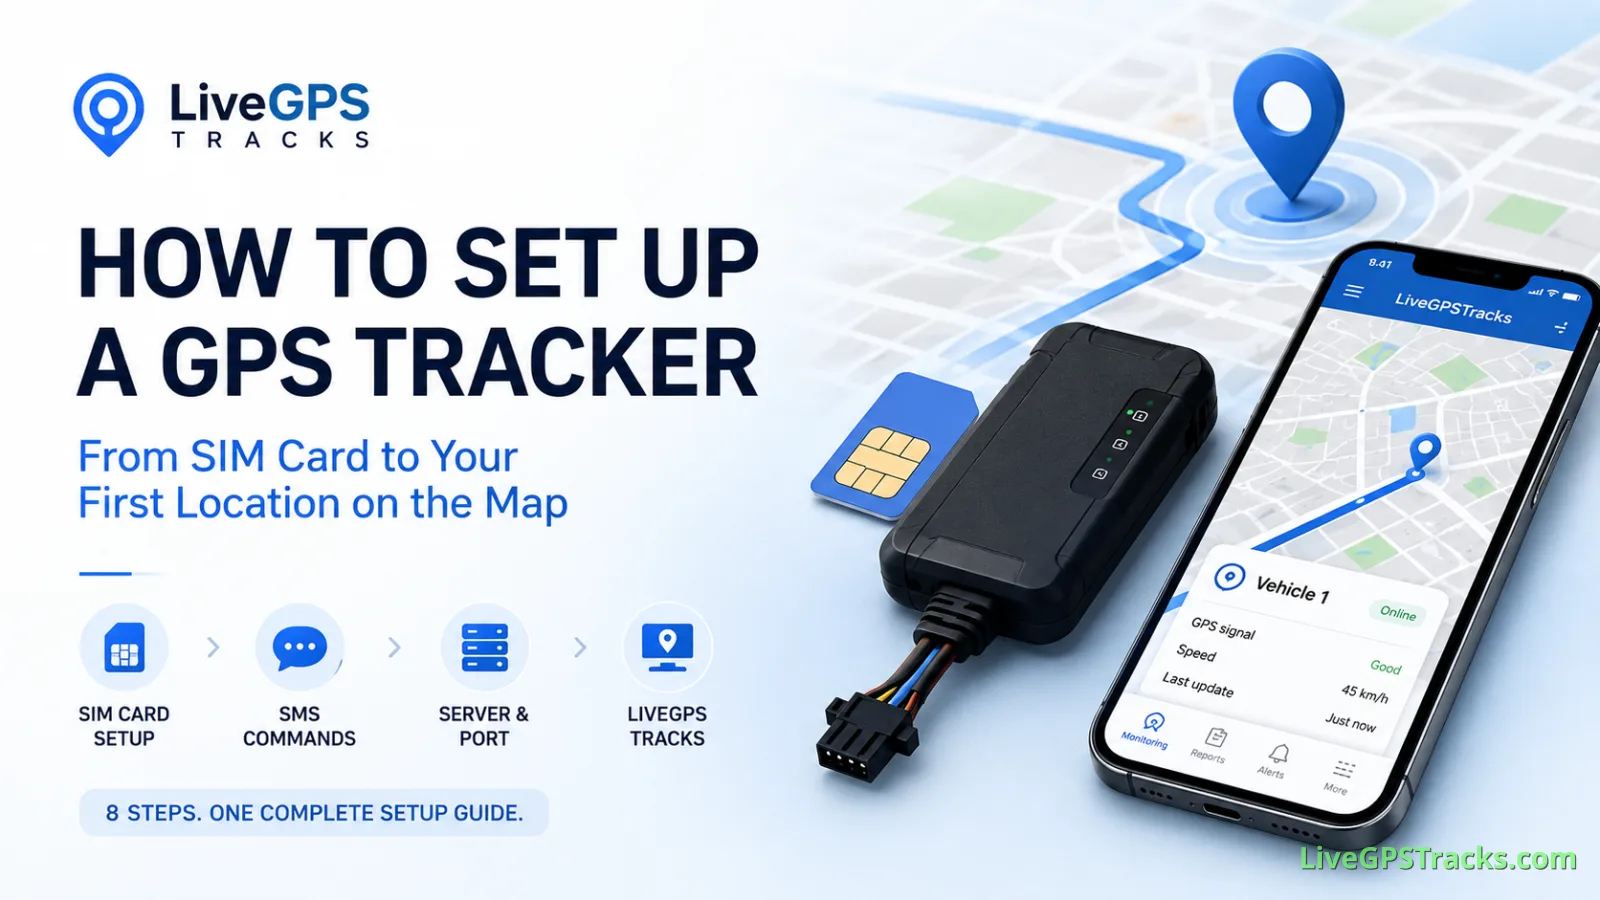
How to Set Up a GPS Tracker: From SIM Card to Your First Location on the Map
Learn how to set up a GPS tracker from start to finish. This complete guide walks you through SIM card preparation, SMS commands, APN settings, server and port configuration, testing, and connecting your device to LiveGPSTracks for real-time GPS monitoring.
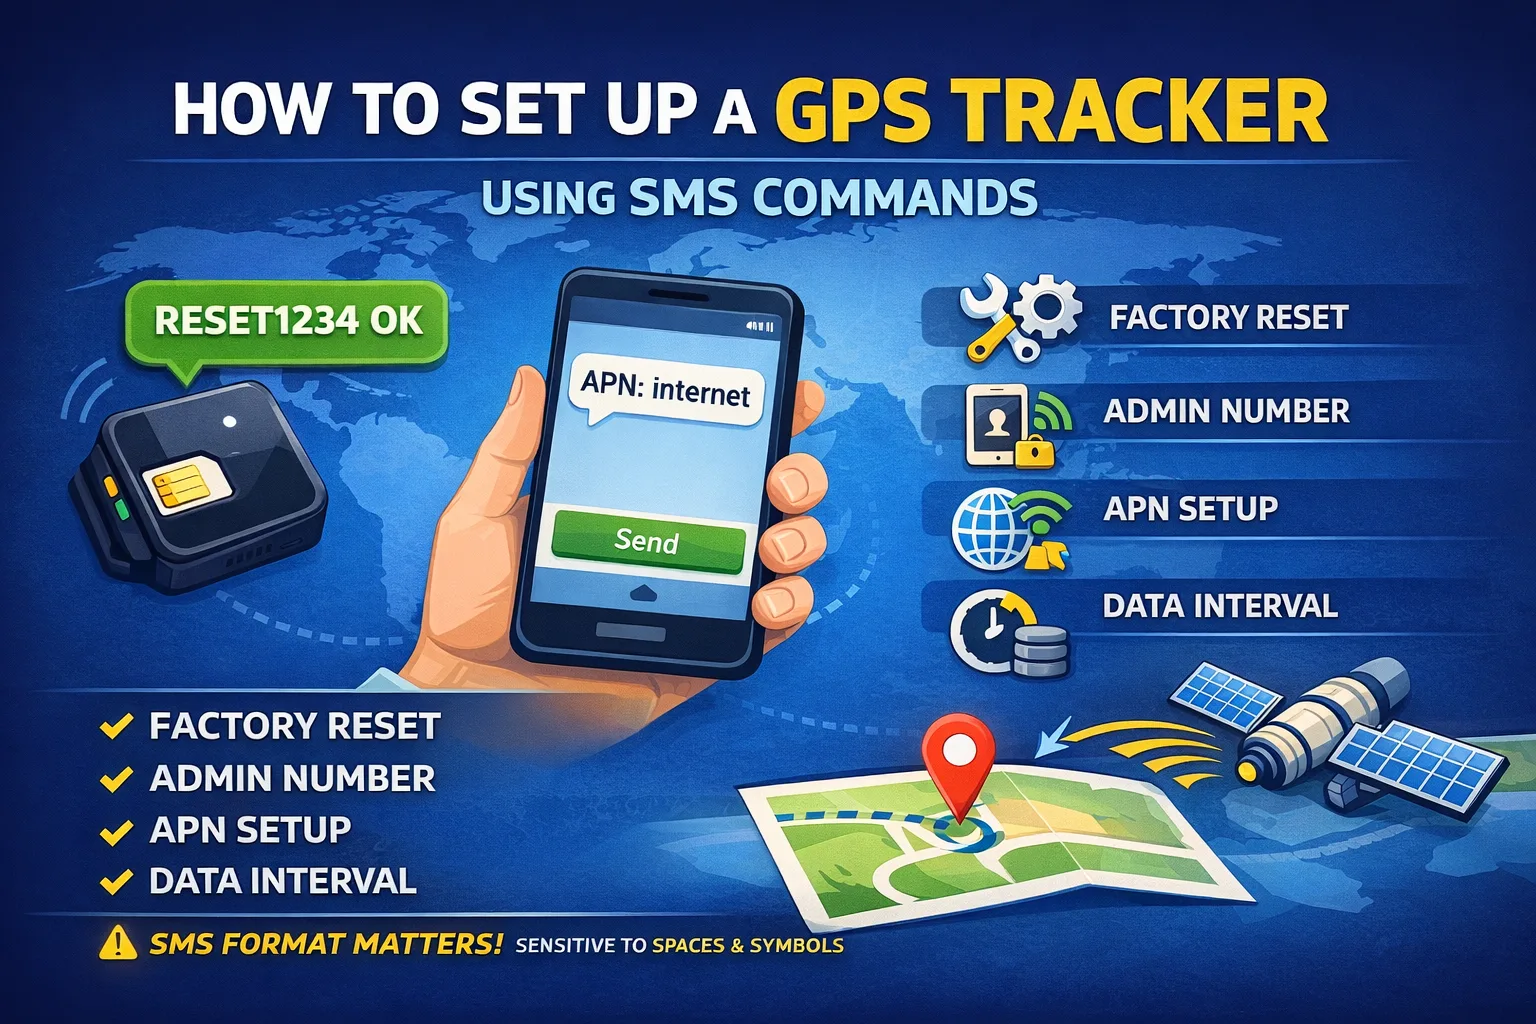
How to Set Up a GPS Tracker Using SMS Commands
Learn how GPS trackers are configured using SMS commands. This beginner-friendly guide explains the most common command types, the correct setup sequence, and common mistakes that prevent trackers from sending location data.
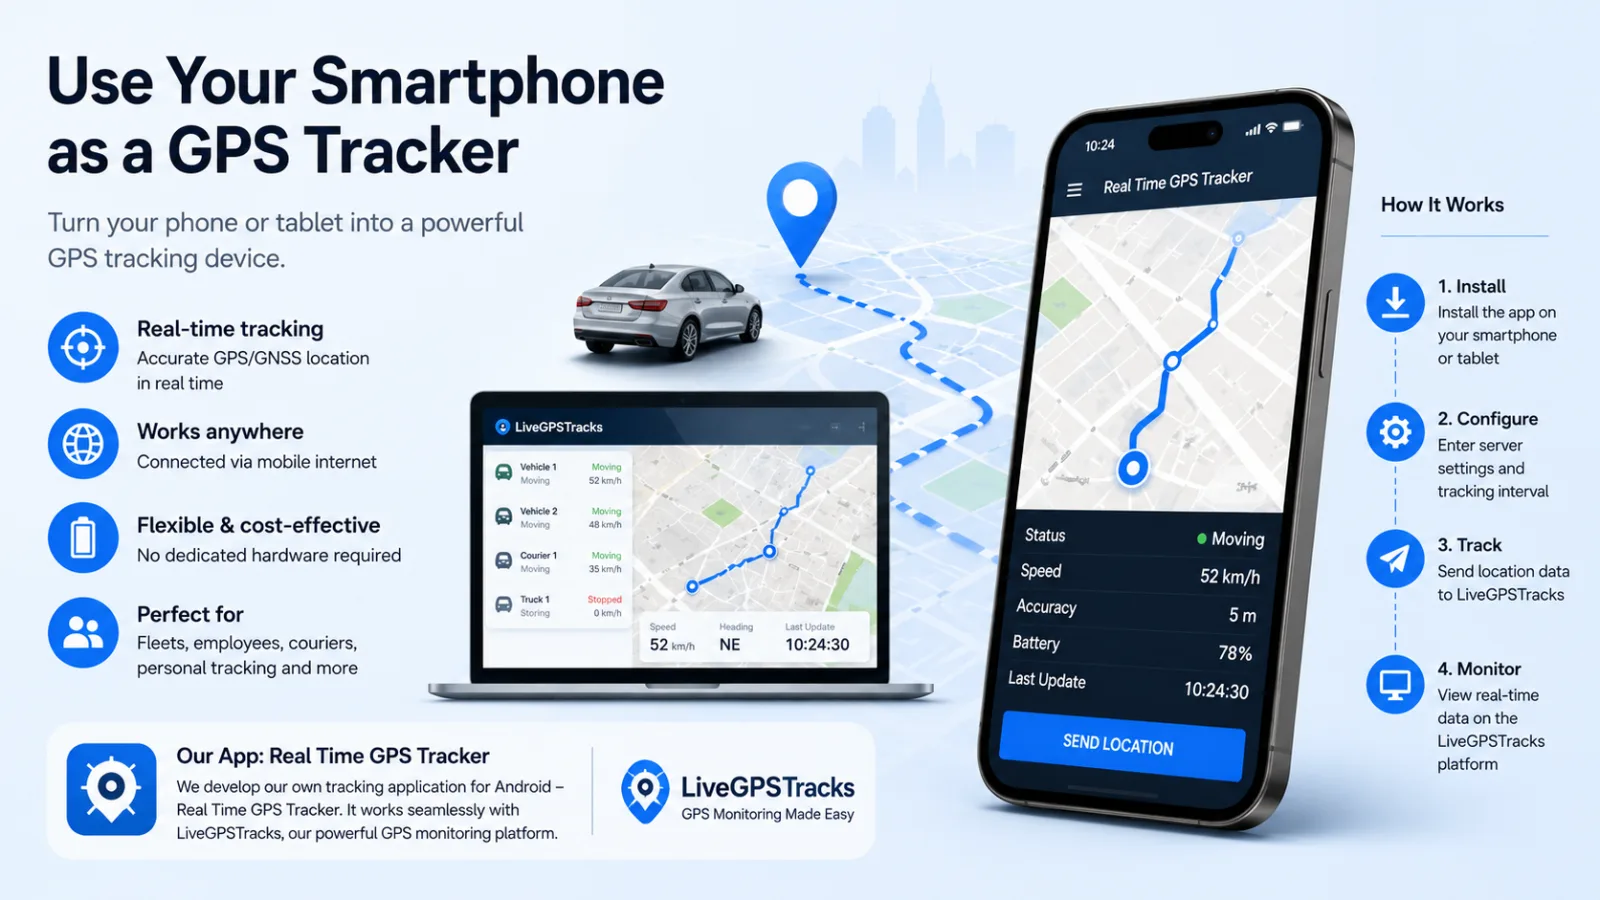
Can You Use a Smartphone or Tablet for GPS Tracking?
A smartphone or tablet can work as a software GPS tracker. Learn how tracking apps send location data, which settings matter, and when a phone is a practical alternative to dedicated hardware.
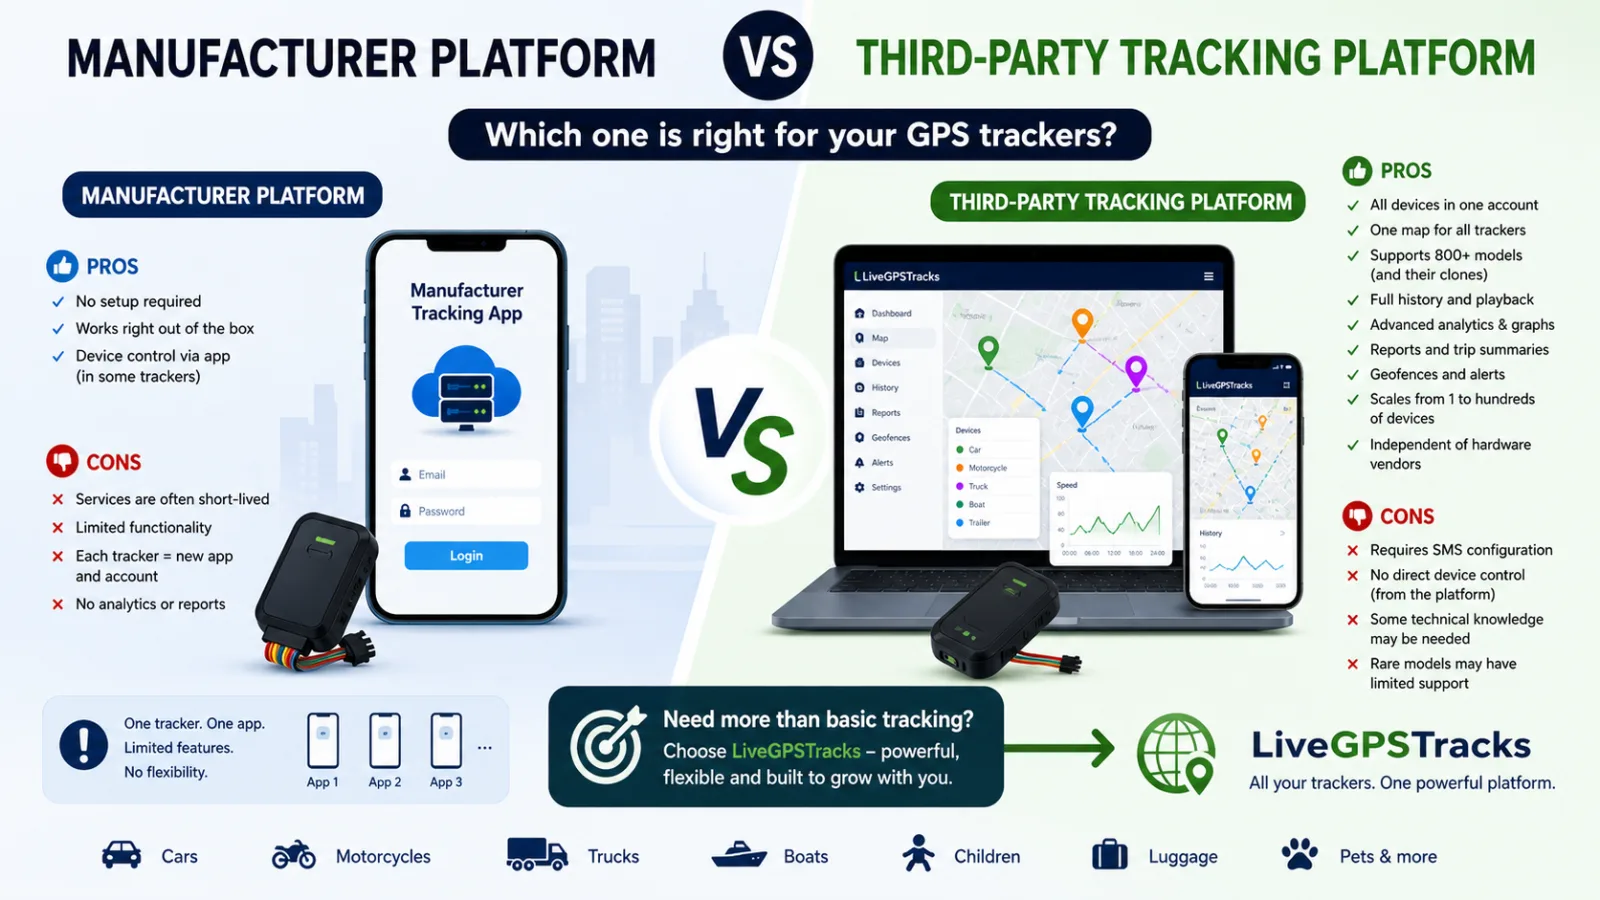
Manufacturer Server vs Third-Party GPS Tracking Platform
Should you use your GPS tracker's default app or a third-party platform? Compare setup, device support, analytics, scalability, and long-term flexibility.
Comments
Sign in to comment.
No comments yet.